Effective Guide to How to Use Caulk Gun for Modern Home Maintenance in 2025
Using a caulk gun effectively is essential for any modern home maintenance task. Whether it’s sealing windows, doors, or even plumbing fixtures, mastering this tool can ensure your home remains energy-efficient, watertight, and aesthetically pleasing. In this guide, we will explore all aspects of using a caulk gun, offering practical tips and insightful strategies to help you make the most of this valuable tool in 2025.
Understanding Caulk Types and Their Applications
Before you begin any project, it’s crucial to understand the different types of caulk available. Each type has its caulking techniques and applications, making them suitable for various tasks. For example, silicone caulk is often favored for its durability and waterproof properties, making it ideal for bathrooms and kitchens. Conversely, acrylic caulk could be preferable for indoor projects due to its paintability and ease of use. Choosing the best caulk for your projects ensures not only a better finish but also longevity in performance.
Popular Caulk Types
Among the most common caulk types, we have silicone, acrylic, and polyurethane. Silicone caulk is known for its flexibility and water resistance, making it a must-have for areas exposed to moisture. In contrast, acrylic caulk is easy to paint, making it perfect for interior applications like trim work. Polyurethane caulk provides excellent adhesive properties and is suitable for outdoor use due to its robustness. Understanding how to select and apply these various caulk types is crucial for every DIY enthusiast.
Identifying the Right Caulk for Specific Projects
When selecting caulk for any project, consider the specific requirements of the task. For instance, using caulk for plumbing necessitates a material that can withstand water exposure and temperature changes. Similarly, caulking for windows should prioritize insulation and weatherproofing. A good caulking workshop can provide hands-on practice to better understand which caulk to use under different conditions.
Essential Caulking Tools and Their Functions
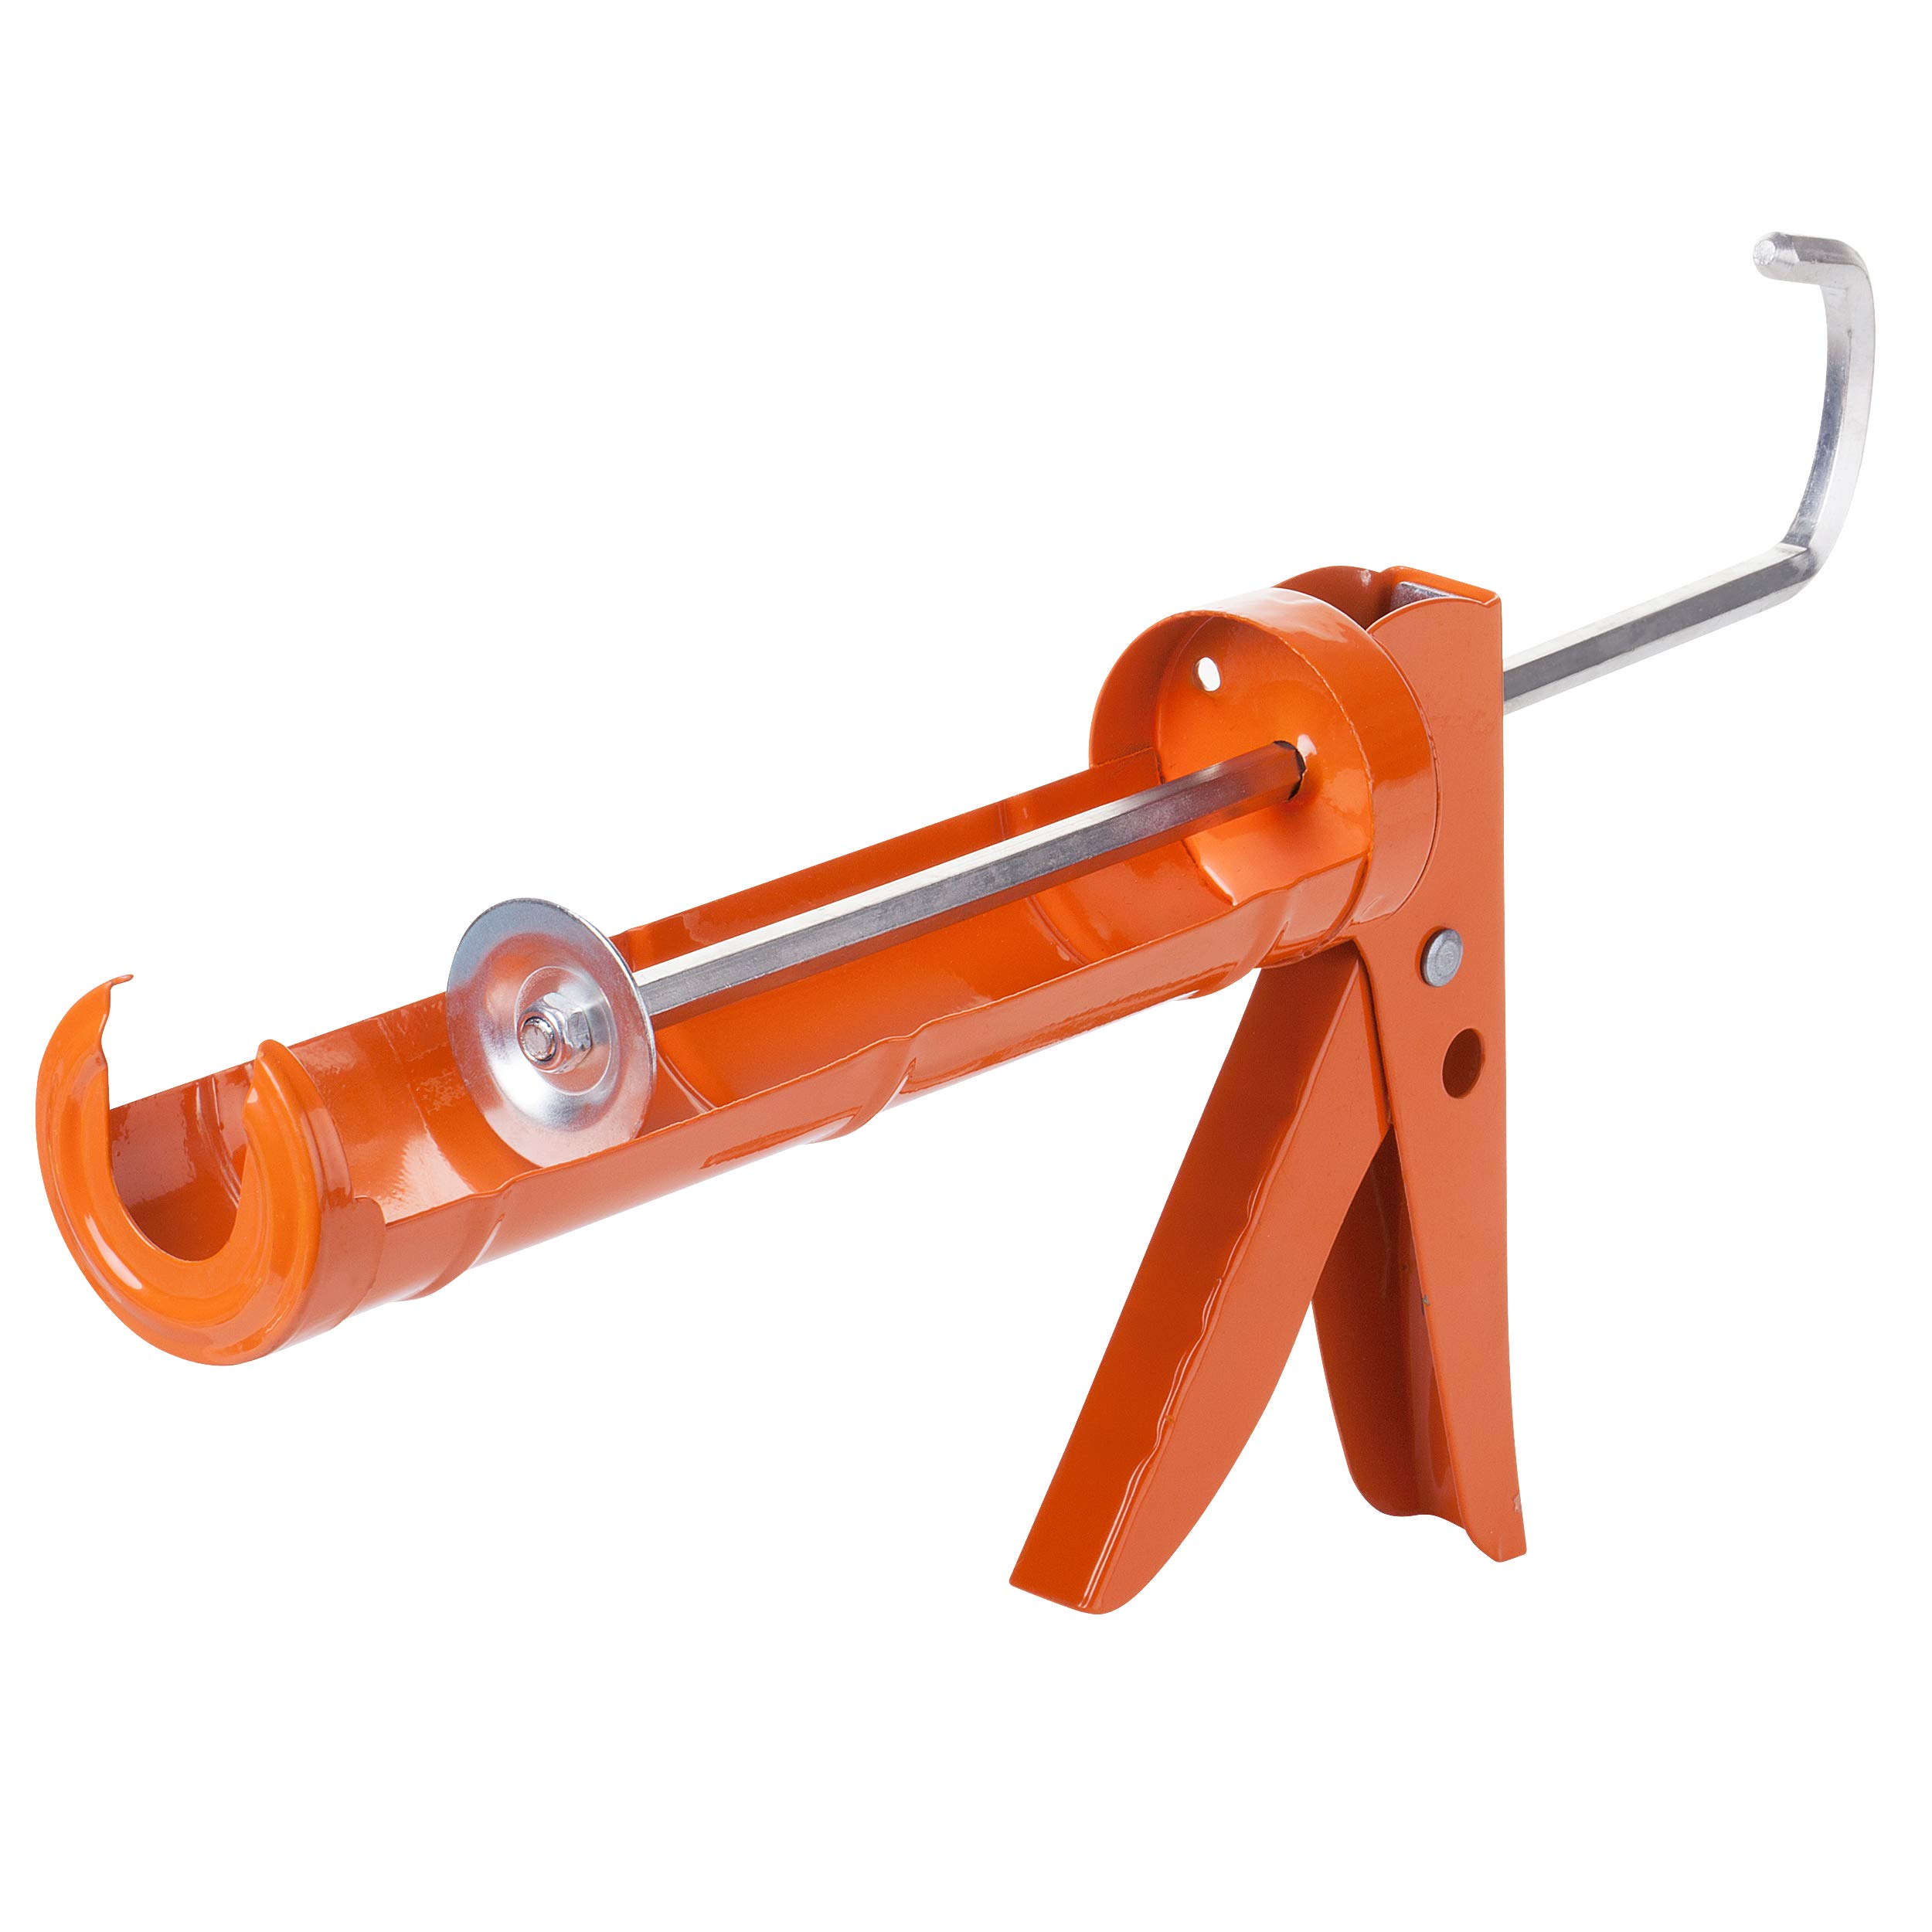
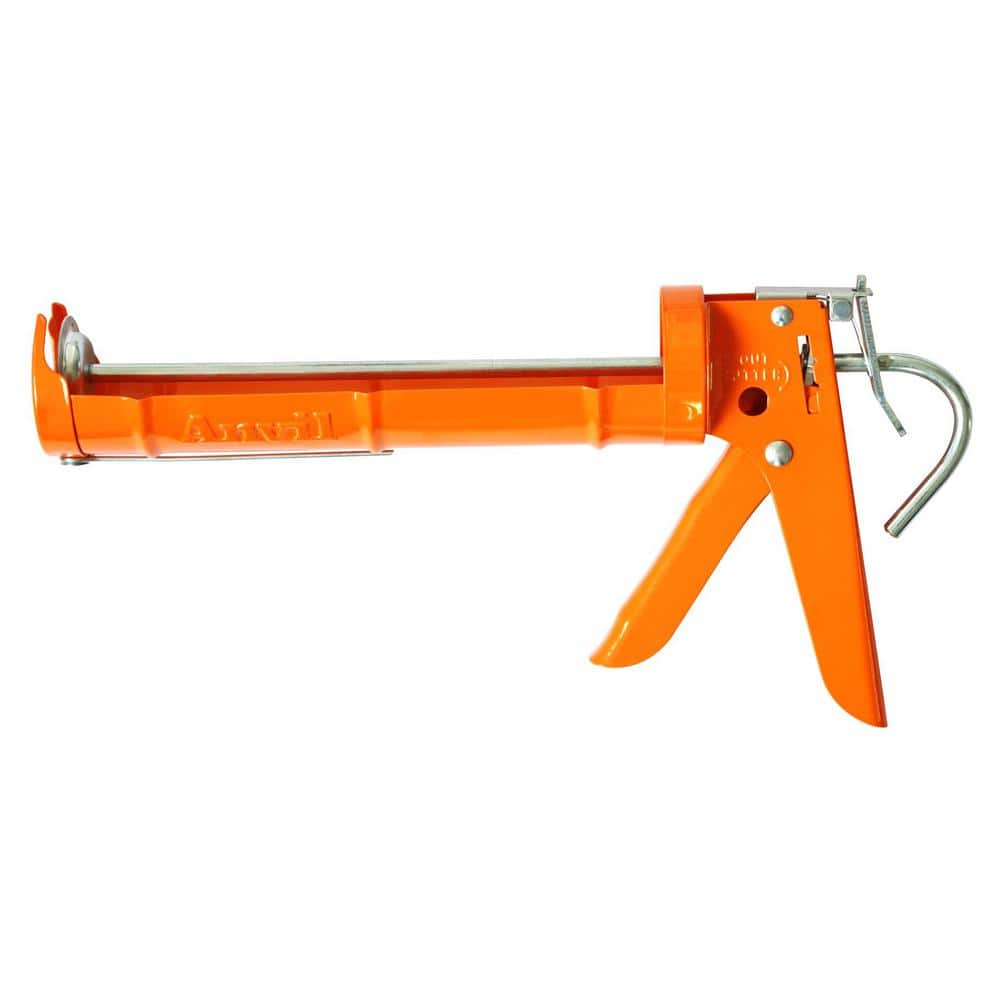
In addition to a caulk gun, having the right caulking tools on hand can significantly improve your efficiency and accuracy when applying caulk. Tools like caulk finishing tools, backer rods, and caulk removal tools are important. A well-maintained caulk gun reduces unnecessary mess and increases the quality of application, making it a key part of your toolkit.
How to Load a Caulk Gun Properly
Loading a caulk gun correctly is pivotal. Begin by cutting the tip of the caulk tube at a 45-degree angle, depending on the size of the bead you want. Next, puncture the inner seal carefully before placing the tube into the gun. The plunger should sit firmly against the tube. Squeeze the trigger gently until the caulk is ready for application. Understanding how to clean a caulk gun after use is also essential, ensuring longevity and performance for future projects.
Safety Tips When Using a Caulk Gun
Using a caulk gun might appear straightforward, but safety is paramount. Always wear gloves and protect your eyes when working with caulk, especially while applying caulks that contain solvents. Understanding caulk gun safety can prevent injury, especially since caulk guns can exert significant pressure when dispensing the material. Ensure you’re also working in well-ventilated spaces when using any caulks that produce strong fumes.
Tips for Perfect Caulk Application
Proper caulk application significantly affects the quality of the work done. The ability to apply caulk cleanly and evenly can prevent the need for future touch-ups and repairs. Implementing a few key caulking tips can elevate your results tremendously.
Applying Caulk Evenly
To apply caulk evenly, keep the gun at a consistent angle—ideally 45 degrees—to ensure that the bead sits nicely in the joint or gap. Start the trigger gently and move steadily without pausing to avoid uneven application. Using a smooth motion will not only result in a neater look but will improve overall adhesion and sealing performance.
Finishing Techniques for a Professional Look
After you’ve applied the caulk, finish it off by smoothing the bead with a caulk finishing tool or your fingertip. Dampen your finger slightly to aid in smoothing, ensuring clean lines and preventing excess material from spreading to unwanted areas. Proper caulk finishing techniques can make a tremendous difference in your final result, giving it that polished appearance.
Troubleshooting Common Caulking Issues
Even seasoned DIYers encounter challenges with caulking. Troubleshooting issues effectively can save time and prevent costly mistakes. Understanding common caulk gun troubleshooting methods will help you manage these situations smoothly.
Addressing Uneven Application
If you find that the caulk isn’t flowing evenly, check the caulk gun pressure first. Applying consistent pressure is key to achieving a smooth bead. If the caulk is aging or not compatible with the gun, consider switching to a newer tube or a different product to match your caulking needs.
How to Remove Excess Caulk
Sometimes the results of a caulking project can lead to excess buildup. To manage this, use a caulk removal tool to scrape off any unwanted caulk gently. Be careful not to damage surfaces while doing so. For severe mistakes, it may be necessary to apply a solvent to soften and remove the caulk completely before redoing the application, ensuring a clean workspace for DIY caulking.
Key Takeaways
- Understand different types of caulk to select the best for your projects.
- Proper caulk gun usage includes a clear understanding of its parts and how to load it effectively.
- Smoothing and finishing caulk is crucial for aesthetics and functionality.
- Troubleshooting common problems can save time and effort on the job.
- Practicing effective caulking techniques and safety measures ensures long-lasting results.
FAQ
1. What is the best caulk for bathroom projects?
For bathrooms, using a moisture-resistant caulk is essential. A good choice is silicone caulk due to its water resistance and durability. Always check product specifications to ensure it’s suitable for your specific bathroom maintenance needs.
2. How do you clean a caulk gun?
Cleaning a caulk gun typically involves removing the tube and thoroughly wiping any remaining caulk from both the gun and the plunger. Utilize a cloth soaked in mineral spirits for tougher remnants. Regular cleaning keeps the gun in good condition for future projects.
3. Are there eco-friendly caulking options?
Yes, there are eco-friendly caulking options available, including some water-based and latex caulks. Always check for certifications indicating low VOC emissions to ensure you’re making an environmentally safe choice that doesn’t compromise quality.
4. How do I know when to replace my caulk gun?
If your caulk gun is consistently not applying caulk evenly or appears to have damaged parts affecting its function, it’s probably time for a replacement. Also, signs of rust or excessive wear might indicate the need for a new one.
5. What are some beginner caulking mistakes to avoid?
Common mistakes include not preparing the surface adequately, applying too much caulk at once, or neglecting to caulk at a consistent angle. Always take your time during preparation and application for better results.